


What is Google Cloud App Engine?
Google Cloud App Engine is a Platform as a Service (PaaS) offering provided by Google Cloud Platform (GCP). App Engine is a fully managed, serverless platform for developing and hosting web applications at scale. Google Cloud App Engine follows a consumption-based pricing model, which means you are billed based on the resources your application consumes and the amount of traffic it receives. This can make it a cost-effective option, especially for applications with varying or unpredictable workloads.

The above diagram demonstrates the hierarchy of the App Engine. We can deploy multiple services of an Application to an app engine and each service can have different versions running and instances are created based on the traffic received by each version.
When an application is deployed to the google cloud app engine. A unique URL is generated to access the application. The format of the URL is
PROJECT_ID.REGION_ID.r.appspot.com (if the service is default and contains only one version).
If you are deploying a service of a specific version then the URL is of the format
VERSION-dot-SERVICE-dot-PROJECT_ID.REGION_I...
We can deploy multiple services and versions of an application in a project.
Example
Let's consider the example of a MERN stack application deployment to Google Cloud App Engine. The total Application can be deployed as 2 services - client(frontend) and server(backend). There can be multiple versions of the frontend running at the same time. The frontend interfaces seamlessly with the backend through the server's deployment URL.
Creating a Google Cloud Project
To create a new Google Cloud project go to Google cloud console
Once you're logged in to the Google Cloud Console, click on the project dropdown menu at the top of the page. Select "New Project" from the dropdown.
Fill in the details for your new project, including the project name, organization (if applicable), and a billing account. Make sure to choose a unique project ID, as this will be part of your project's URL.
Associate a billing account with your project. This is necessary to cover any usage costs associated with the resources you consume in your Google Cloud project.

Downloading Google Cloud SDK
Go to the official Google Cloud SDK download page: cloud.google.com/sdk/docs/install.
Choose your operating system from the options presented on the download page. Google Cloud SDK is available for Windows, macOS, and Linux.
Click on the appropriate download link for your operating system. This will initiate the download of the installer package.
Once the download is complete, locate the installer package on your system and run it. The installation process will begin.
The installation wizard will guide you through the setup process. You may need to choose installation options, specify installation location, and agree to any terms of use.
Initialize your SDK by following the steps mentioned here SDK Initialization
Deploying MERN Stack Application
Setting up Google Cloud App Engine
Select App engine service from the services sidebar.
Click on create Application and select the region and service account.
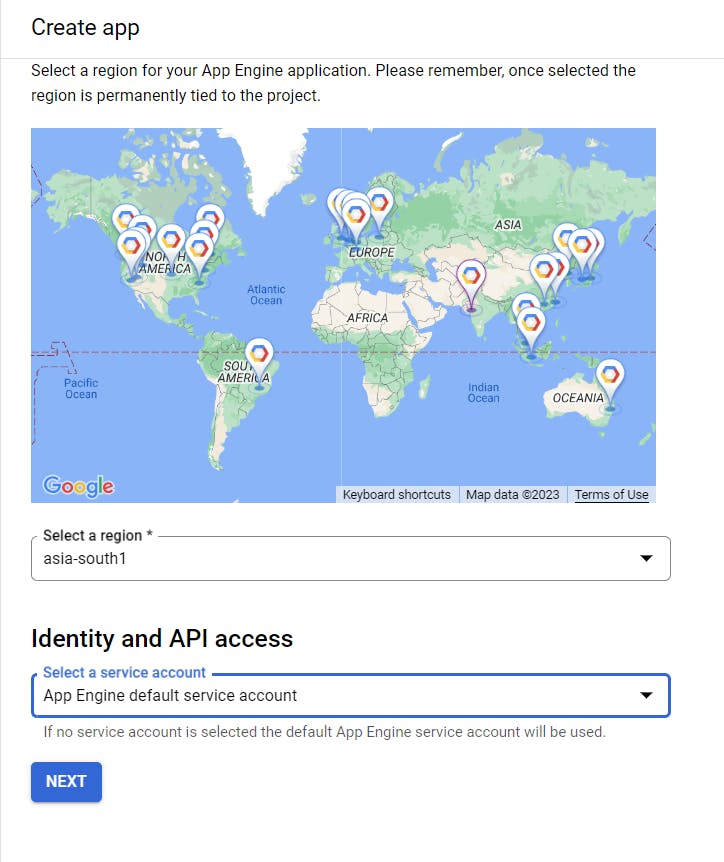
Click on "NEXT"
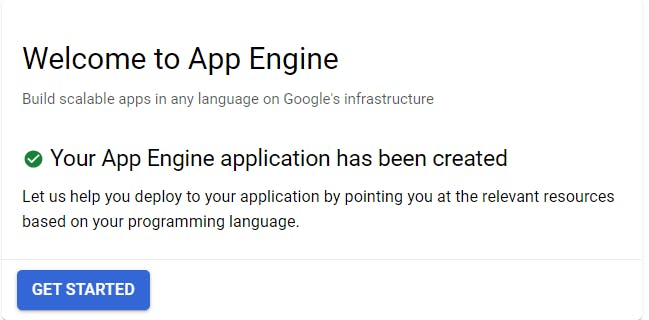
The application will be configured within a few seconds.
Deployment process
Now I am going to deploy the MERN stack application. Firstly I am going to build by React Application to generate the build folder and then server the index.html file obtained from the server.
Building the Frontend
Open your react application and build the application using the following command
npm run build
This will generate a build folder that will contain index.html, javascript and CSS files. If you have created the react app using vite then a dist folder will be generated instead of a build folder which contains HTML, css and js files.
Note : The frontend and backend are being deployed as single application and they are being served from the same domain, you can use relative paths for your API endpoints. In this case, using
/api/user/loginis a suitable approach.When your frontend and backend are co-located under the same domain, you can leverage relative URLs like
/api/user/loginto communicate between them. This simplifies the configuration and helps maintain consistency, especially when deploying a unified application.
const response = await axios.get("http://localhost:5000/api/user/login")
// changes to
const response = await axios.get("/api/user/login");
Copy or Move this folder to the backend (server) folder.
Setting up backend
In the entry file of your backend application (index.js or server.js) make the following changes
serve the static files in the build folder obtained in the previous step by using express, and index.html file
If you are using ES6 Syntax in the backend then add the following code to the entry file.
      import { dirname, join} from 'path';
      import { fileURLToPath } from 'url';
      const __dirname = dirname(fileURLToPath(import.meta.url));

      app.use(express.static(join(__dirname,'dist/')));
      app.get("/", (req, res) => {
        res.sendFile(join(__dirname,'dist/index.html'));
      });
If you are using CommonJS syntax in the backend then add the following code to the entry file
      const path = require("path");
      app.use(express.static(path.resolve(__dirname, ".build")));
      app.get("/", (req, res) => {
        res.sendFile(join(__dirname,'dist/index.html'));
      });
When the server is started, index.html file will be served.
Creating app.yaml file
The app.yaml file serves as a vital blueprint for deploying your application. Within this configuration file, you define essential elements such as the runtime environment, service name, and other pertinent settings. This file stands as an indispensable prerequisite for a successful deployment, ensuring that your application is orchestrated precisely according to your specifications.
The service will be treated as "default" if the service name is not specified in the app.yaml file.
runtime : nodejs16
# service : service_name
Deployment
Open the Google cloud SDK and navigate to the server folder.
Set the project by using the command
      #To get the list of projects
      gcloud projects list

      #set the project
      gcloud config set project <PROJECT_ID>
      #output
      #Updated property [core/project].
To deploy the application use the command
gcloud app deployYou will see the below output :

Enter "Y" to deploy the application

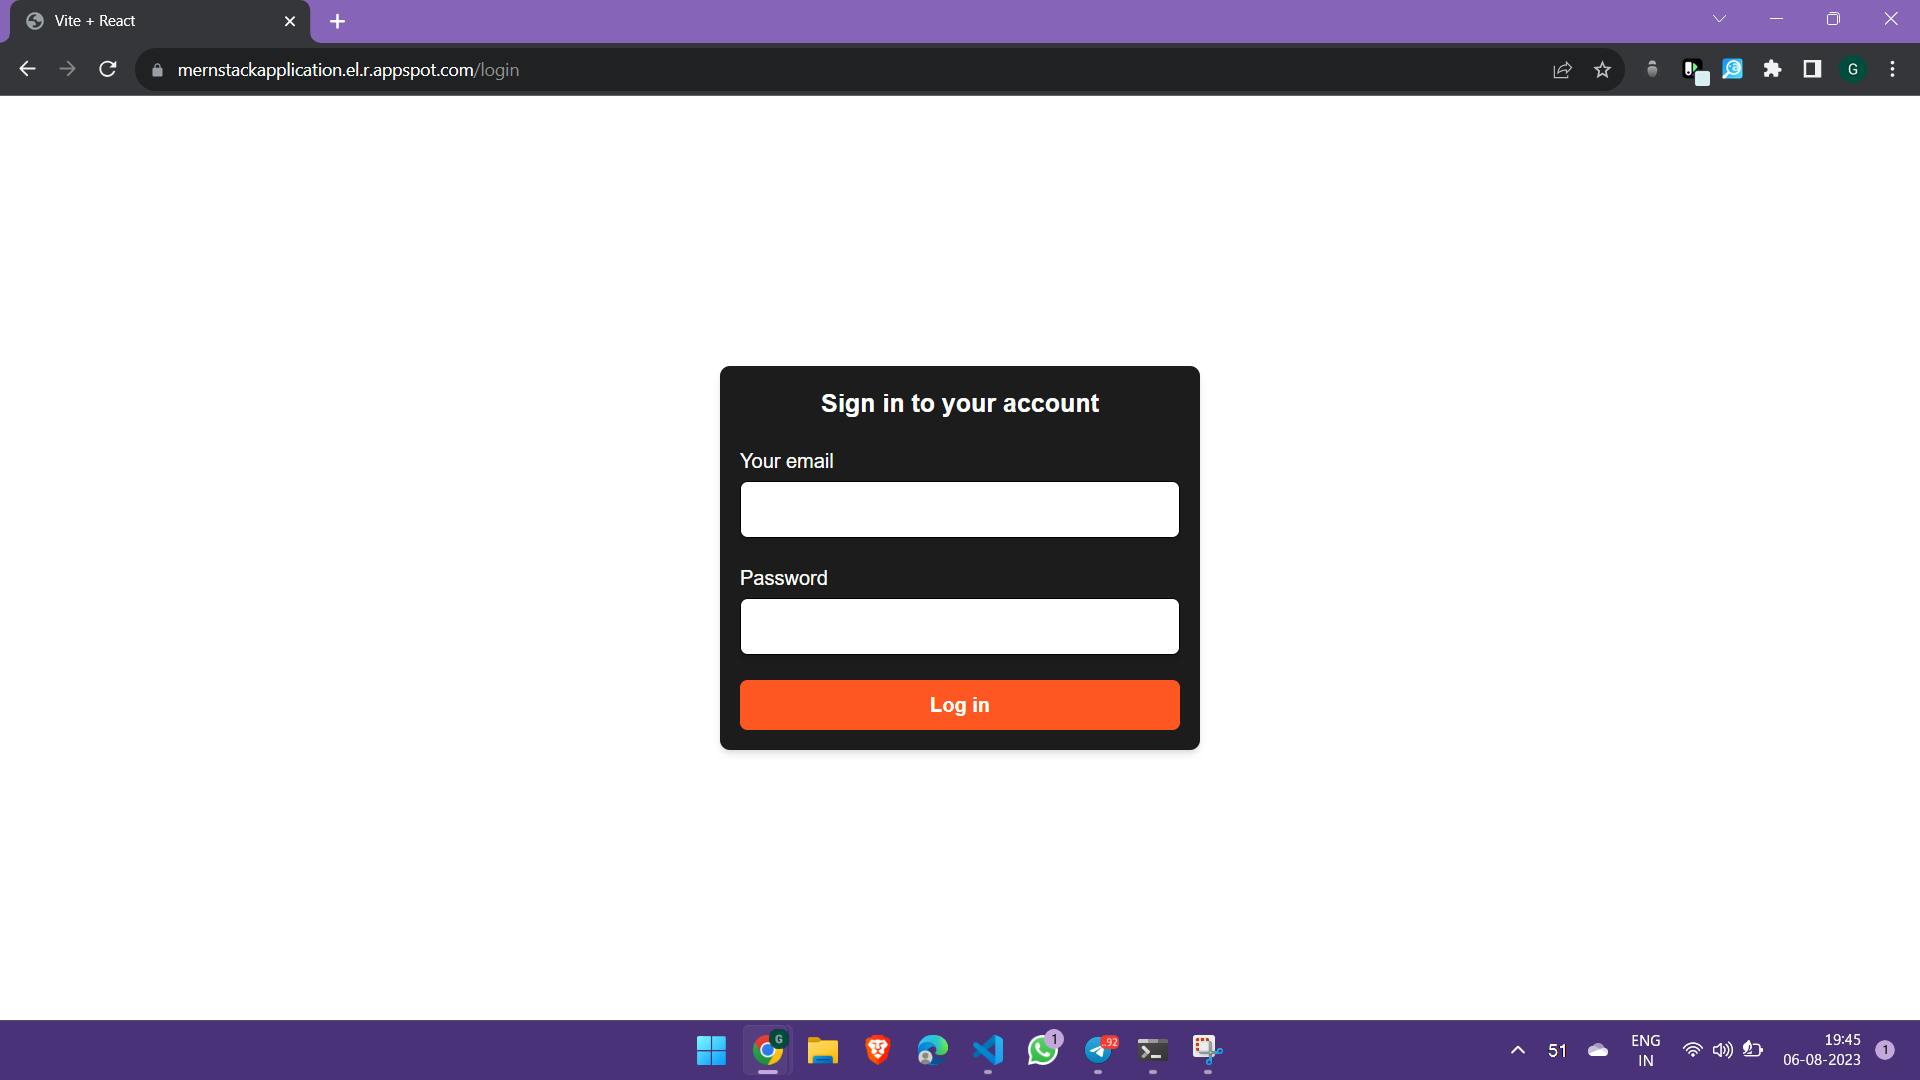
Congratulations, you have successfully completed the deployment of the application in Google Cloud App Engine. Thanks for reading this blog. Do follow for more blogs on Google Cloud.